
Coulant – or lava cake – was invented by chef Michel Bras in 1981 and became the most copied restaurant dessert in the world. The magic is in the contrast between the curdled exterior and the melted chocolate interior that flows when cut. It must be prepared in advance and baked at the last minute.
Mediterranean
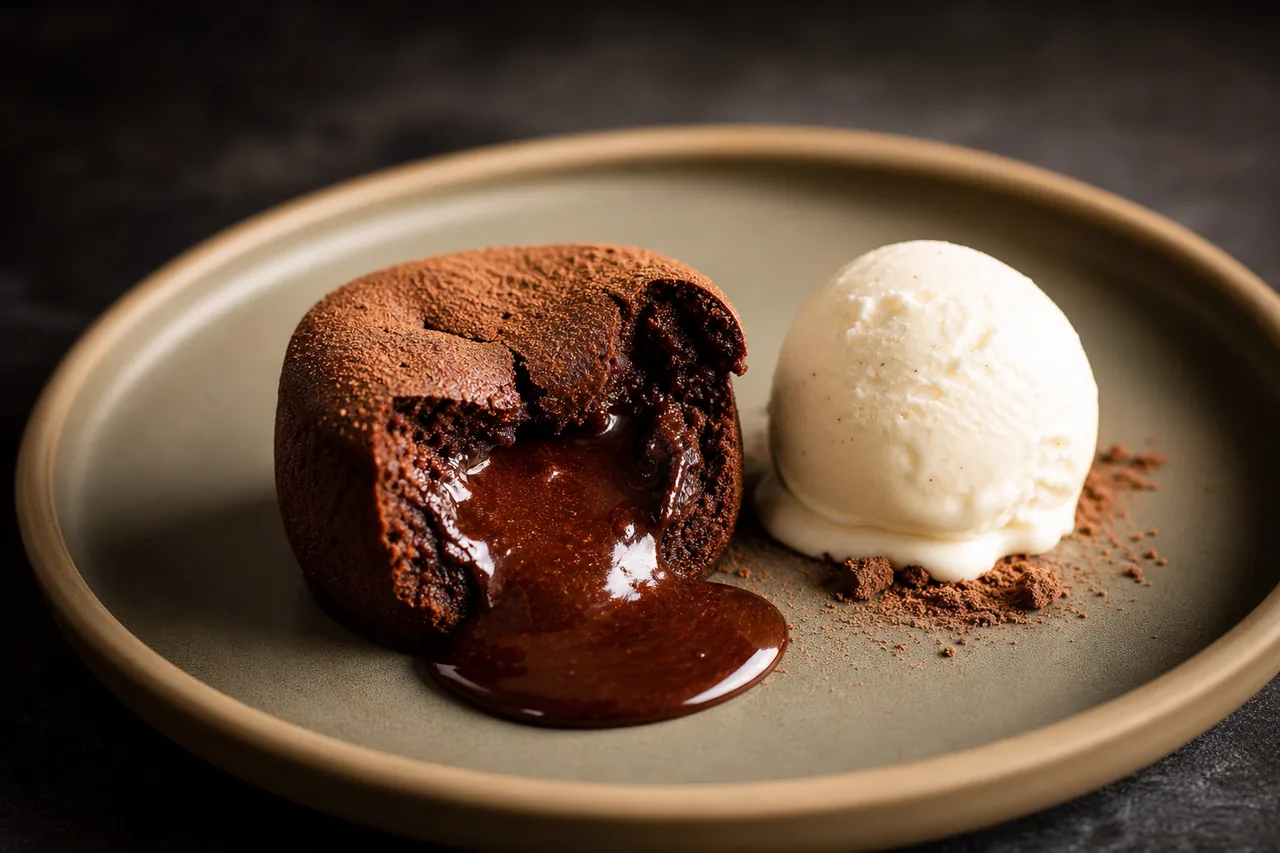
Dark chocolate coulant with vanilla ice cream
70% dark chocolate coulant with liquid center and vanilla ice cream. The most spectacular restaurant dessert to make at home.
- France
- Dessert
- Light
- medium
15 min
Tiempo de Preparación
6
Servings
Nutrición por ración
- Calories 380 kcal
- Protein 8 g
- Fiber 3 g
- Carbohydrates 32 g
- Fat 24 g
- Sodium 120 mg
Story behind the dish
Preparation
Dark chocolate coulant with vanilla ice cream is a preparation from France with medium difficulty. Reserve about 27 minutes in total (15 for mise en place and preparation, 12 for cooking). Follow the 8 phases in order: each step indicates what to do, what to observe and, when applicable, the time or level of fire.
Before you start
- Have ready: 150 g of 70% dark chocolate.
- Have ready: 100 g of butter.
- Have ready: 3 eggs 3 yolks.
- Have ready: 80 g of sugar.
- Have ready: 40 g of flour.
- Salt, oil and spices measured and within reach.
- Clean utensils, board and clear work surface.
-
Melt the chocolate with the butter in a bain-marie; cools to 40°C
Melt the chocolate with the butter in a bain-marie; cool to 40 °C. Let it cool for the indicated time: the structure settles and cuts or unmolds better.
Let it cool for the indicated time: the structure settles and cuts or unmolds better.
-
beat the eggs
Beat the eggs, yolks and sugar until foamy. Go slowly and confirm texture, aroma and color before moving to the next step. Watch the exact point indicated; An extra minute can alter the result.
Go slowly and confirm texture, aroma and color before moving to the next step.
-
Add the melted chocolate to the egg mixture.
Add the melted chocolate to the egg mixture. Go slowly and confirm texture, aroma and color before moving to the next step.
Go slowly and confirm texture, aroma and color before moving to the next step.
-
Add flour and salt; integrate without overworking
Add flour and salt; integrate without overworking. Taste before serving: the balance between salt, acidity and fat defines the final result.
Taste before serving: the balance between salt, acidity and fat defines the final result.
-
Grease 6 individual molds with butter and sprinkle with cocoa
Grease 6 individual molds with butter and sprinkle with cocoa. Go slowly and confirm texture, aroma and color before moving to the next step.
Go slowly and confirm texture, aroma and color before moving to the next step.
-
Pour in batter; Refrigerate for at least 30 minutes (up to 24 hours)
Pour in batter; Refrigerate for at least 30 minutes (up to 24 hours). The dough should be smooth and elastic; If it breaks when stretched, add liquid one at a time. Watch the exact point indicated; An extra minute can alter the result.
The dough should be smooth and elastic; If it breaks when stretched, add liquid one at a time.
-
Bake at 200°C exactly 10-12 min (exterior set
Bake at 200°C for exactly 10-12 minutes (set exterior, liquid interior). Preheat the oven well in advance so that the temperature is stable from the first minute.
Preheat the oven well in advance so that the temperature is stable from the first minute.
-
Immediately unmold onto the plate; serve with ice cream
Immediately unmold onto the plate; Serve with ice cream. Serve on a preheated plate or platter if the dish must maintain temperature.
Serve on a preheated plate or platter if the dish must maintain temperature.
Chef's tips
- Preheat the oven well in advance so that the temperature is stable from the first minute.
- Serve immediately after resting: the temperature contrast enhances aroma and texture.
Community
Kitchen conversations
Share how it turned out, ask questions, or reply to other cooks.
Be the first to share your experience with this recipe.